
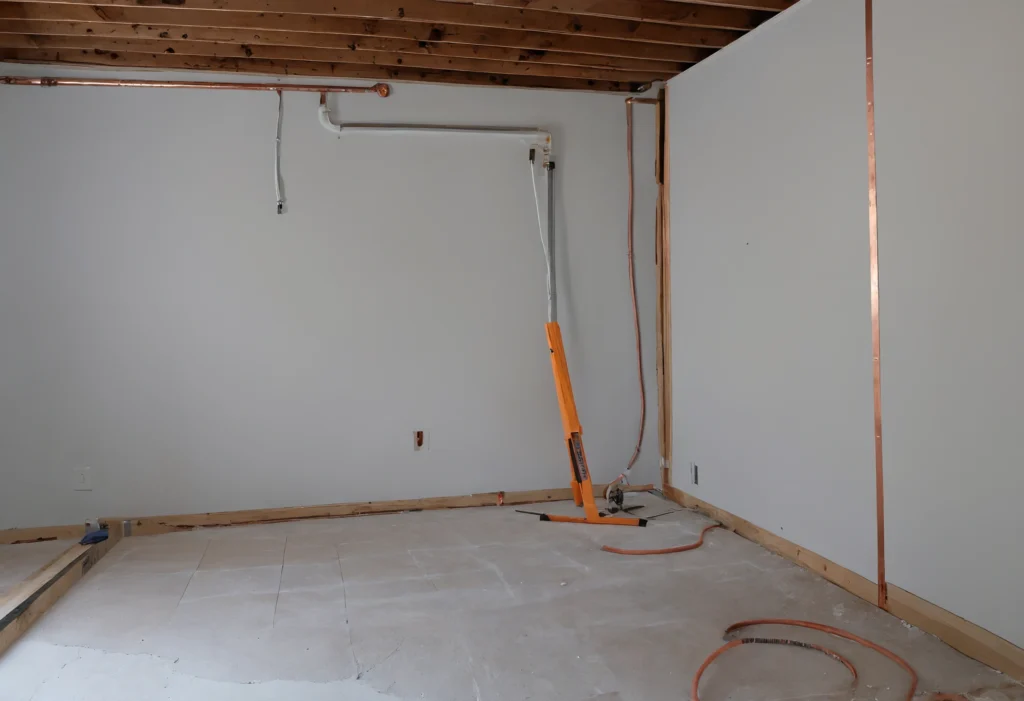
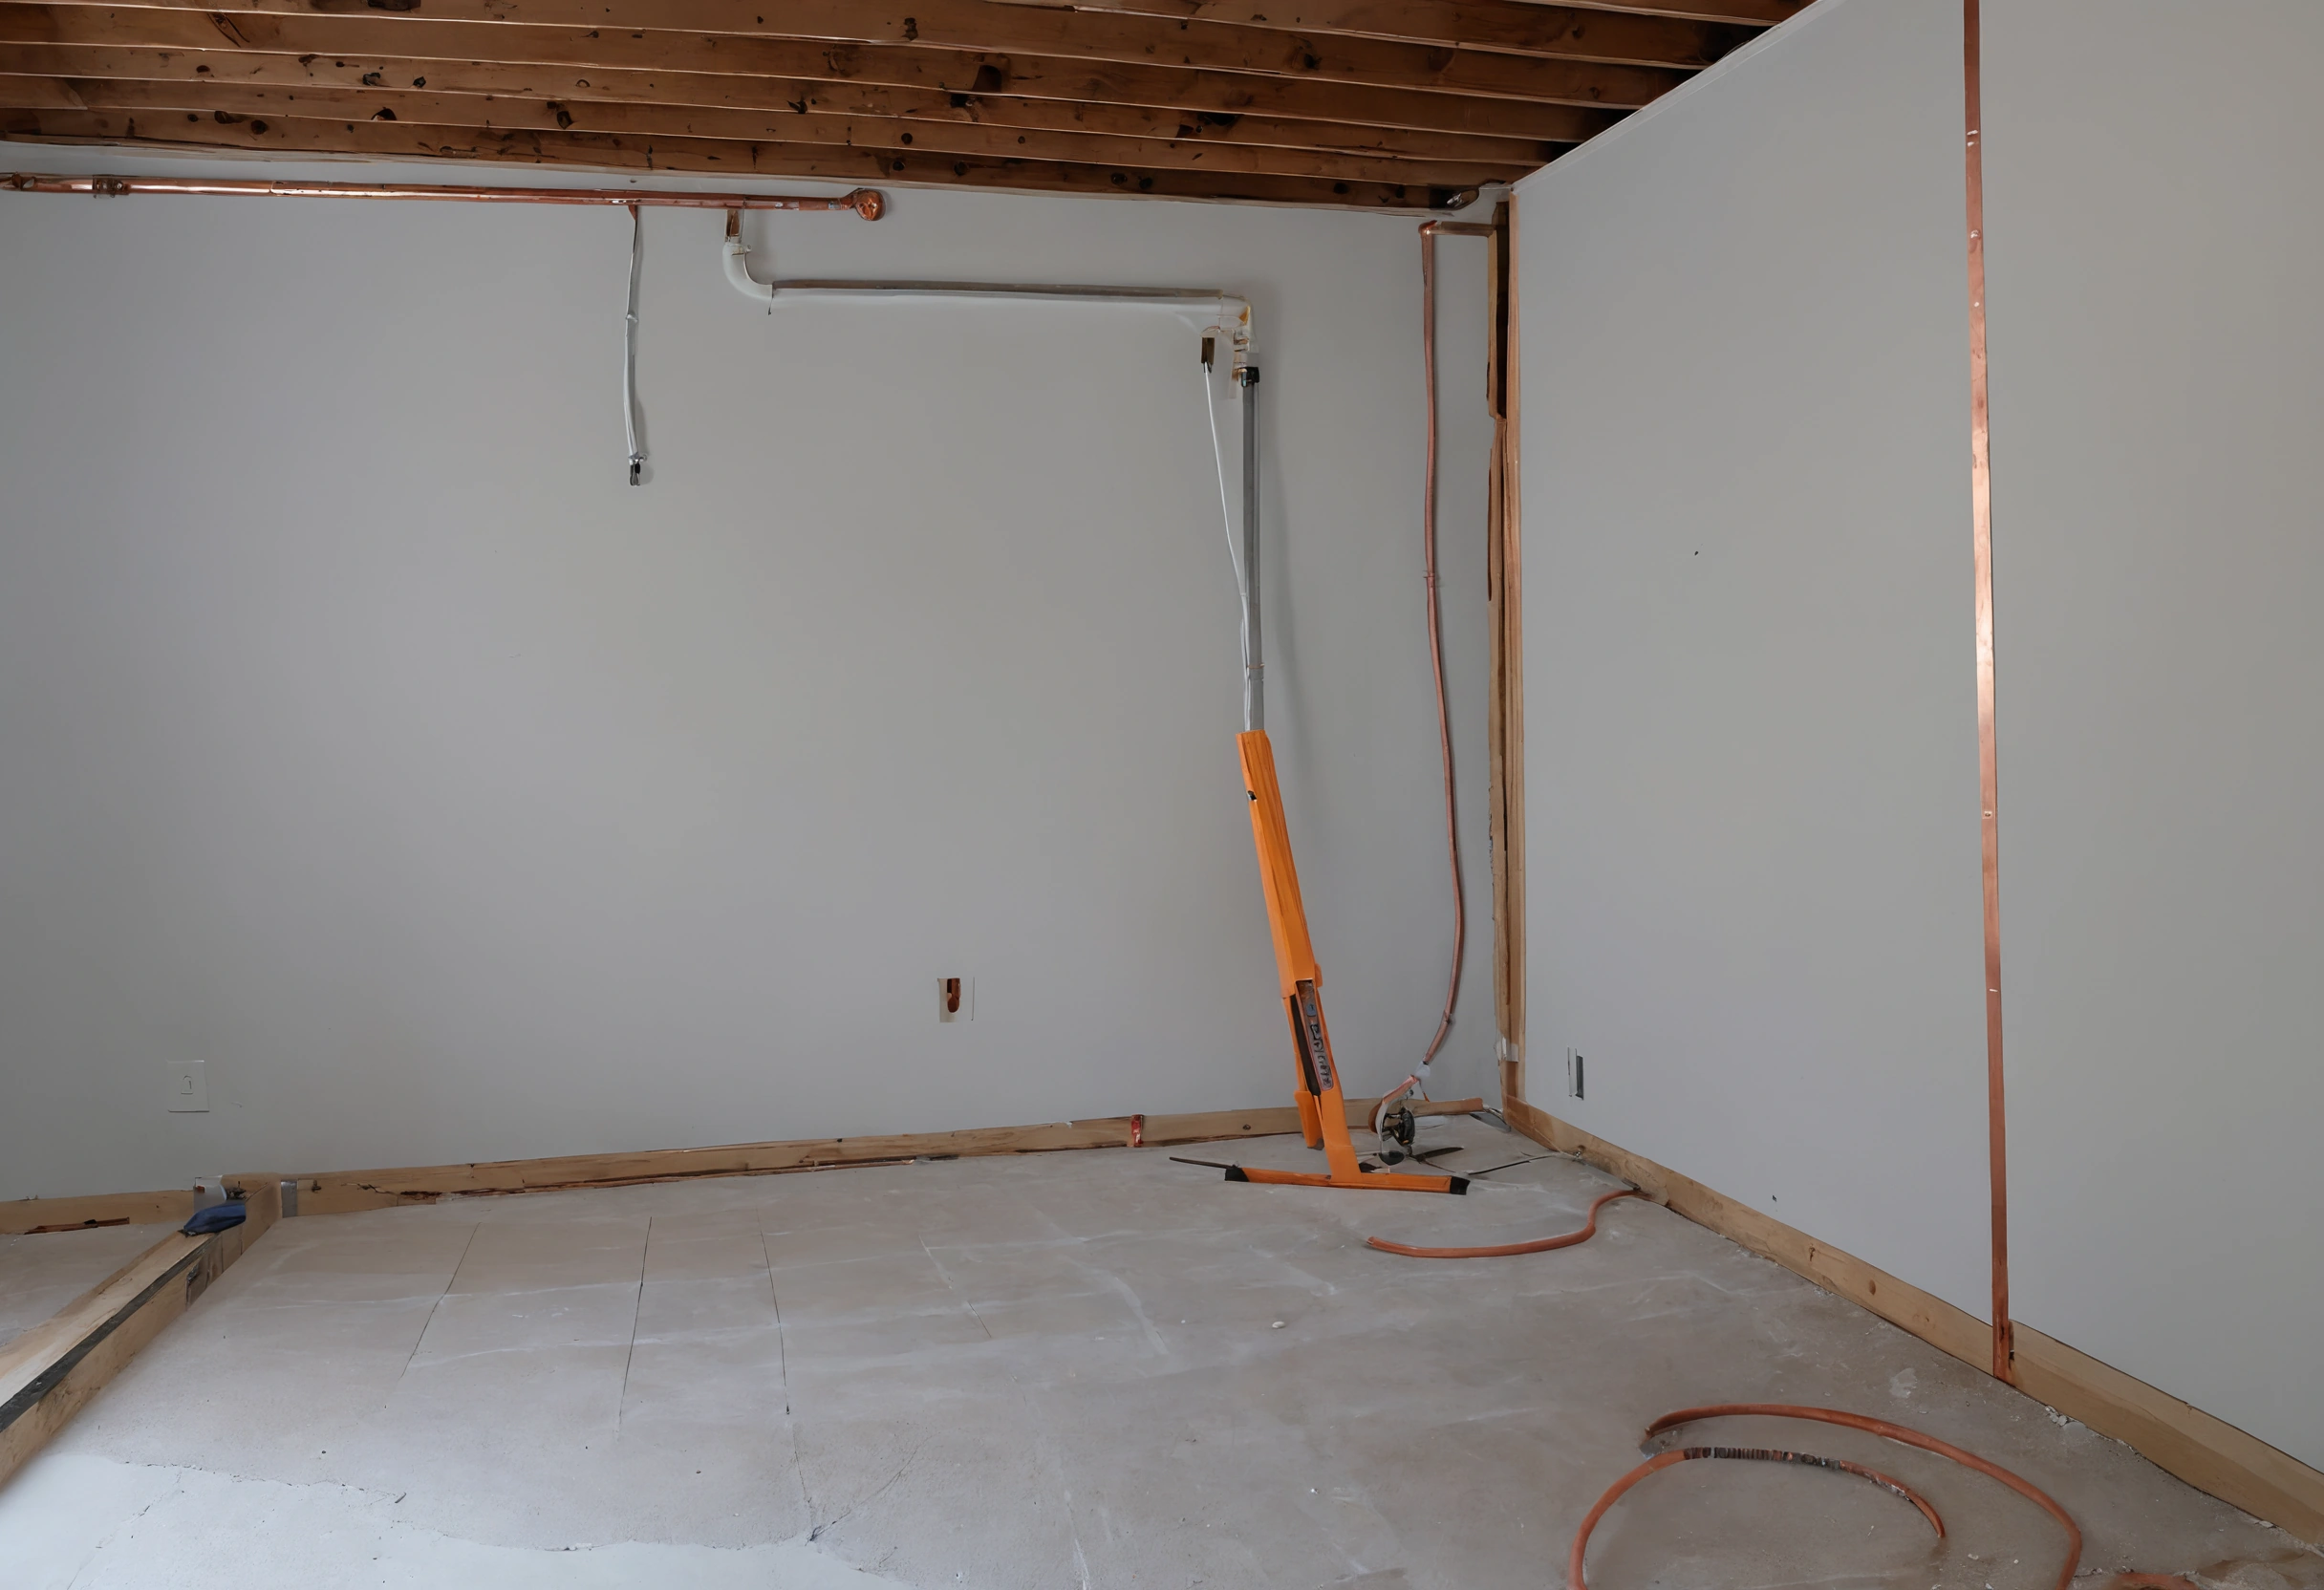
For a homeowner renovating a bathroom, the same lesson applies at smaller scale: the plumbing layout is settled first, and the furniture is chosen around it. Solomia Home, a luxury furniture store Dubai, lists Boffi bathroom and kitchen systems in its catalog, and whichever vanity or system is picked, the pipe positions it needs are fixed before it arrives.
A bathroom renovation follows a dependency chain: rough-in plumbing, then waterproofing, then tile, then the vanity. Reverse any link and a contractor has to cut into finished surfaces.
- Have the plumber and the vanity supplier agree on drain and supply positions before the walls close.
- Pass the rough-in inspection before any membrane, insulation or board covers a pipe.
- Set blocking for a wall-hung vanity while the studs are still open.
- Dry anything that gets wet within a day or two, and keep the room ventilated.
Why must rough-in plumbing come before waterproofing?
Rough-in plumbing fixes the drain stubs, supply valves and vent pipes inside the wall cavity, and a waterproofing membrane has to wrap around every one of them. Lay the membrane first and the plumber must cut through it later, which breaks the barrier at exactly the points where water concentrates. The sequence protects the seal.
Membrane makers design for this order. Schluter sells KERDI-SEAL prefabricated seals with molded rubber gaskets that seal pipe protrusions through its membrane and protect the backing panel at the mixing valve. Those seals only work when the pipe is already standing where the membrane arrives.
Who inspects the rough-in, and when?
Building departments inspect plumbing while it is still visible, which is why the pipe work cannot wait behind other trades. Phoenix, for one, checks rough plumbing before insulation and drywall, and inspects fixtures only at the final visit once the interior is finished.
San Antonio, Texas, goes further in its residential inspection guide: the plumbing top-out inspection is requested before insulation, sheetrock or other finishes conceal the pipes, and it checks pipe sizes, materials and venting, drain lines and how the piping is secured. The guide also lists shower pan liner among the inspections done by third parties.
Rules differ by city, so ask your plumber which inspections your own permit includes before the tile crew is booked.

What does a wall-hung vanity need from the wall?
A wall-hung vanity carries its full weight, plus the top, sink and everything stored in it, on the wall. Kohler’s installation instructions for a wall-hung vanity call for fastening to the studs, with a stud no more than 3 in from either side of the cabinet. Where the studs do not fall there, a 2×8 support goes behind the finished wall.
The 2×8 support has to be built while the wall is open, so the vanity choice affects framing as well as plumbing. The same instructions tell the installer to plan supply and drain routing for the chosen sink, and to complete the finished wall before the mounting hanger goes on. Kohler’s recommended vanity height is 34-1/2 in, with the hanger line marked at 27 in. Where the bathroom must be accessible, the 2010 ADA Standards (section 606) put the front of the lavatory rim no higher than 34 in above the floor, and the pipes have to be roughed in to suit.
Which materials suit a wet room, and why does drying matter?
The US EPA says to keep indoor relative humidity below 60 percent, ideally between 30 and 50 percent, and to dry water-damaged areas within 24 to 48 hours to prevent mold, in A Brief Guide to Mold, Moisture and Your Home. A surface that cannot dry inside that window is a poor fit for a wet room.
The same guide advises running the bathroom fan or opening a window when showering. Houston adds its own load. NOAA records for Hobby Airport from 1 to 22 October 2026 show an average daily high of 88 F and low of 66 F, with rain on four days totaling 1.3 in, per NOAA’s daily summaries. Warm, damp air is the normal condition, so exhaust fans and a continuous membrane do real work.
What is the correct order of works for a bathroom?
The sequence runs from demolition and framing changes to rough-in plumbing and electrical, inspection, waterproofing, tile and finally the vanity. Membranes are specified by standard: the Tile Council of North America lists ANSI A118.10 for load bearing, bonded, waterproof membranes for thin-set tile (2023 edition) and A108.13 for their installation (2005, reaffirmed 2021). Ask for a membrane that names the standard, and install it by the maker’s method.
| Step | What is fixed at this step | Who inspects or signs | Source |
|---|---|---|---|
| 1. Framing and blocking | Studs in place; 2×8 support behind a wall-hung vanity if no stud is within 3 in of each side | Contractor; building inspector at framing | Kohler |
| 2. Rough-in plumbing | Drain, vent and supply positions, valve location, pipe securing | Registered master plumber; city plumbing inspector before concealment | San Antonio |
| 3. Rough-in inspection | Pipes approved while visible, before insulation and drywall | Building department inspector | Phoenix |
| 4. Waterproofing | Continuous membrane, gasketed seals at every pipe penetration | Installer; shower pan liner by a third party in San Antonio; maker’s warranty | Schluter, TCNA |
| 5. Tile and finished wall | Wall straight and plumb, ready for the hanger | Tile setter | Kohler |
| 6. Vanity and final connections | Rim at or below 34 in where accessible; hanger line at 27 in for the Kohler model | Plumber connects; final inspection covers fixtures | US Access Board, Phoenix |
Vanity installation follows grouting, once the room is clean enough to protect cabinet finishes. Final plumbing connections, mirror mounting and trim complete the job. For budget context on the same work, see the guide to reading a renovation estimate. The sources and citations page lists how we handle references, and the contact page is the place to raise project-specific constraints.